
My grandmother is turning 90 years old this Easter! AND my youngest is turning 5 years old on Good Friday! We always have a family get-together with lots of egg hunting fun and delicious food for Easter.
Quick, bite-sized appetizers are one of my favorite things to serve at any gathering. This year, I decided to create a fun spin on the usual chicken salad croissant and make these Easter themed carrot-shaped croissants!

Although making homemade croissants is a lot of work, they really aren’t that difficult to make. Plus you can do all the prep work for these days in advance. Most of the time is resting/rising time. You can pretty much stop the recipe at about any time you want and chuck the dough in the refrigerator for several hours or overnight.
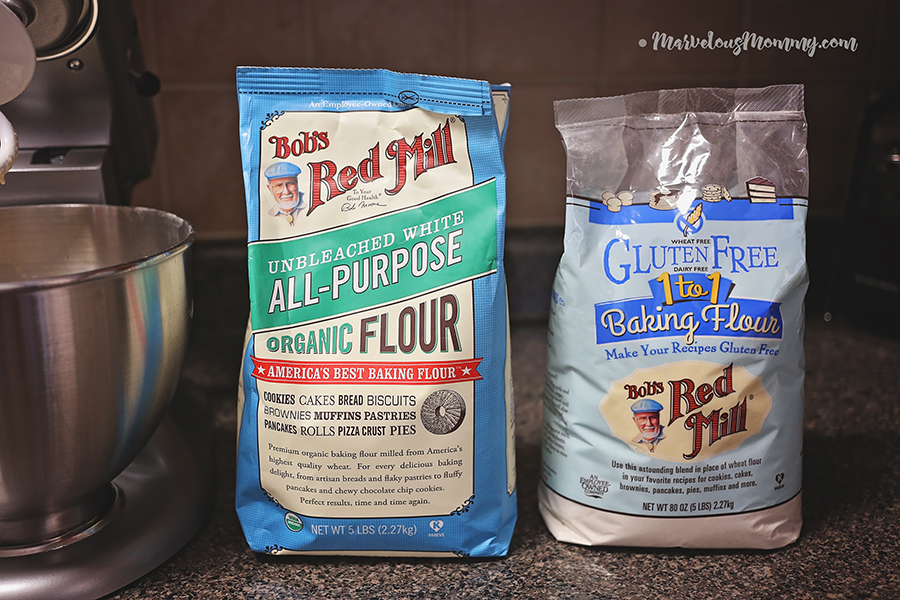
For this recipe, I’m using Bob’s Red Mill Organic Unbleached White All-Purpose Flour. It is freshly milled from organic hard red wheat. Both the bran and the germ have been removed leaving the endosperm that is made into white flour. It is not enriched with any additives.
This is the same high protein flour used by professional bakers and produces high, well-textured loaves of bread equally as well as it produces light, airy baked goods. It’s perfect for all of your baking needs!
Click to print your coupon for $1 off Bob’s Red Mill products.
Carrot-Shaped Croissant Cones
For Dough:
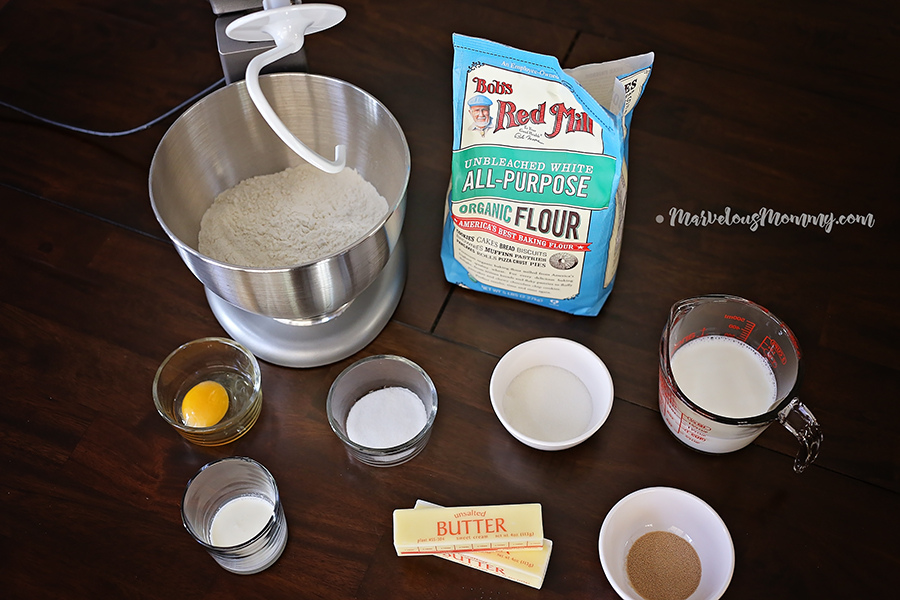
- 2 Cups | Organic Unbleached All Purpose White Flour (plus more for rolling)
- 1 1/2 Tsp | Active Dry Yeast (1 package)
- 2/3 Cup | Warm Milk (Not hot, or you’ll kill the yeast)
- 3 Tbsp | Warm Water
- 2 Tsp | Sugar
- 2 Tsp | Salt
- 2 Tsp Vegetable Oil
- 6 Oz | Chilled Unsalted Butter (1 1/2 to 2 Sticks)
For Egg Wash:
- 1 Large | Egg
- 1 Tsp | Heavy Cream
- Orange Food Coloring
For Garnish:
- Parsley as needed
Adapted from Julia Childs Croissant Recipe
Dough
Start by mixing the active dry yeast with the warm water until dissolved. Let it sit for 10 minutes. It should begin to look bubbly or foamy on the surface.
Blend the milk, sugar, salt, and oil with the yeast mixture, then add that to the flour in your stand mixer (with hook attachment).
Slowly increase the speed of the mixer to medium-low. Let it mix until you can tell it is combined well.
Take the dough out of the mixer, and place it on a lightly floured surface. Begin to knead it with the heels of your hands. It’ll be somewhat sticky at first, but it will become elastic and smooth.
Time to Rise
Place the dough into a bowl and cover with plastic wrap. Leave at room temperature for about an hour or two, or until the dough has doubled in size.
At this point, I left it in the refrigerator overnight. If you aren’t leaving your dough overnight, chill it for about 20-30 minutes before rolling out your dough.
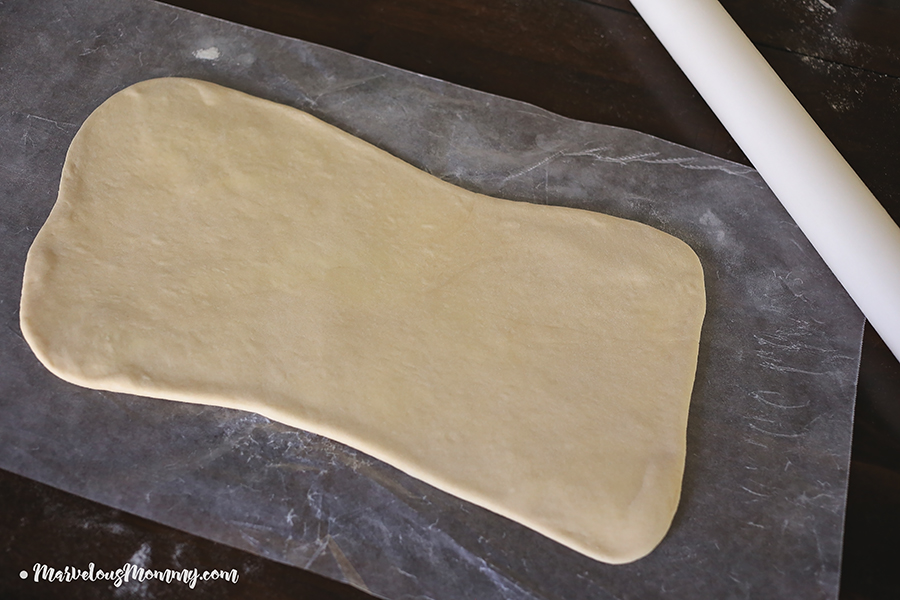
Flour your work surface and turn out the chilled dough. Roll out dough evenly in a rectangle shape. Fold in thirds (like folding a letter), knock off excess flour. Once again, chill the dough for about 20-30 minutes before adding butter.
Butter Layer
Turn out the chilled dough, again. When rolled out, take butter out of fridge and unwrap.
This step is the most important step to a croissant – the butter! The more butter, the better!
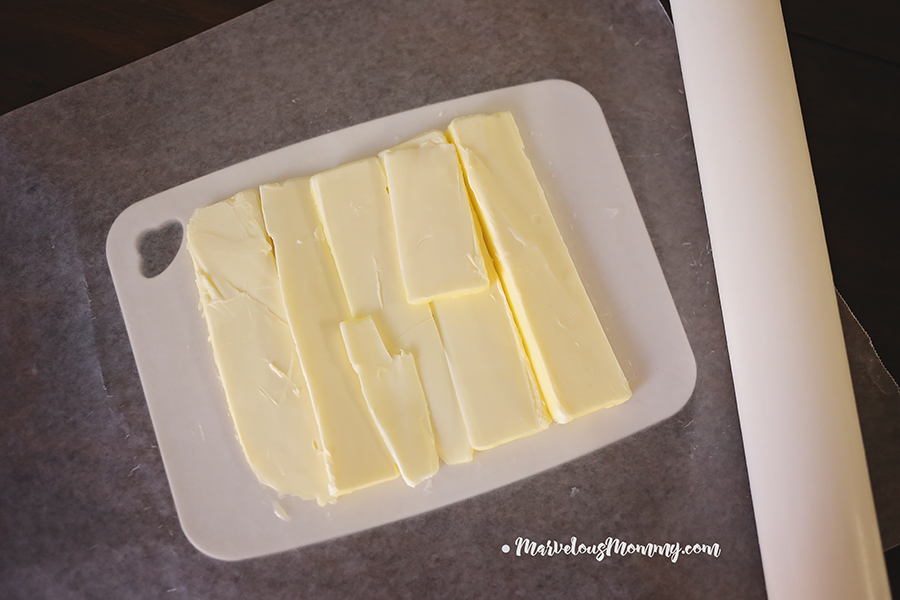
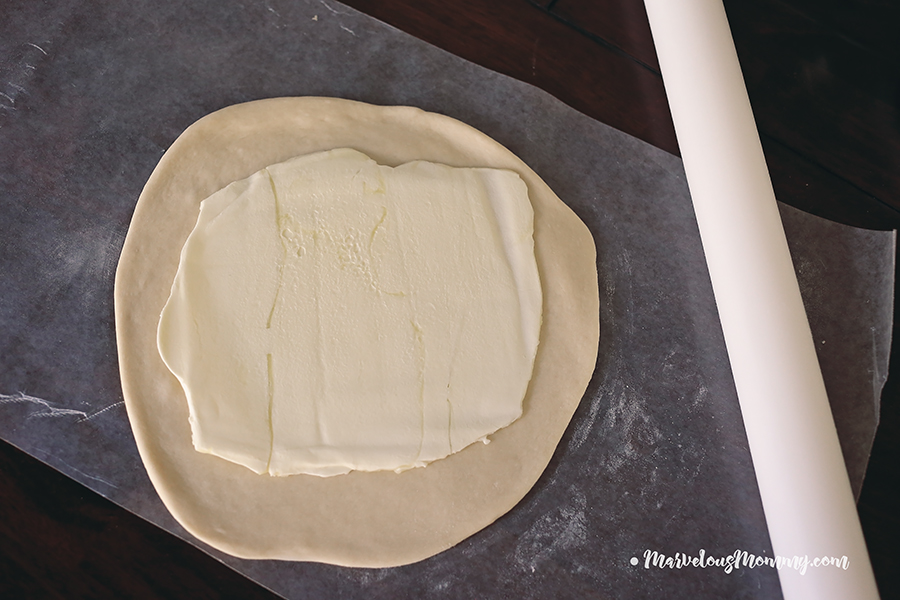
Slice the chilled butter lengthwise and place all your butter in between two pieces of wax paper. Whack the butter with your rolling pin into a consistent, lump-free square, while keeping the butter cold. If it starts to melt during this step, chill it in the fridge or freezer again for a second.
Place butter square in the middle of the dough. Fold right side of dough over butter, followed by left side so butter is completely covered by dough. You want the strip of butter to stay in the center of the dough, without mixing it into the dough. Chill the dough for about 20-30 minutes again.
Roll dough out evenly. Fold in thirds. Roll out dough once more, fold in thirds and place it back in the fridge for at least 1 more hour. (I let stay in there overnight again).
Making Cones
At this point, you should have your chicken salad (or whatever filling you’re using) ready to go. All your prep work is done.
Using a piece of card stock paper, magazine paper, or even just regular plain white paper, create a cone shape and tape it to hold it in place. Then cover the paper with a piece of foil for baking.
Flour your work surface and turn out the chilled dough. (Last time, I swear.) Roll out dough evenly in a rectangle shape.
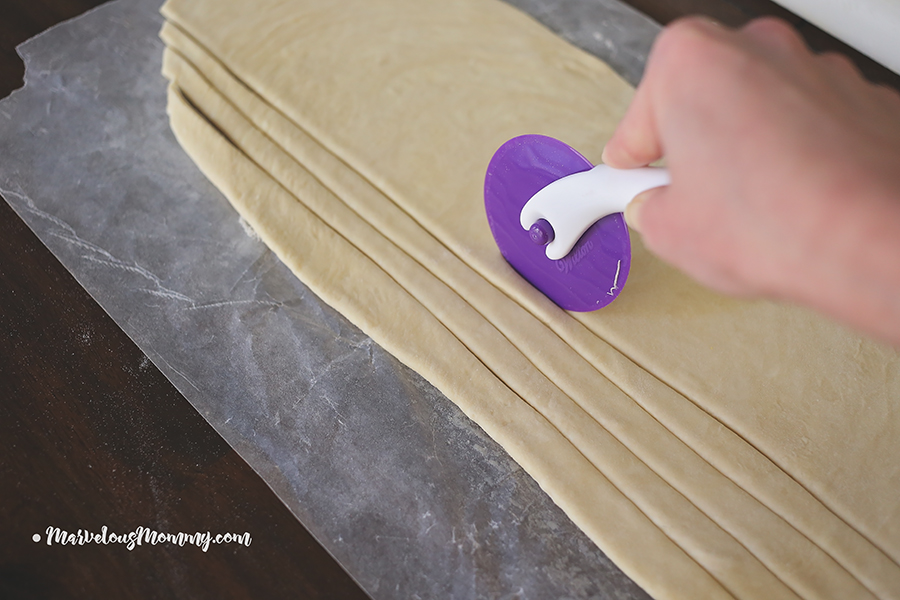
Cut thin slices; the size of the strip of dough will depend on how thick and how big you want your cones to be. Mini cones are great finger foods for parties, but the larger cones are a lot less work.
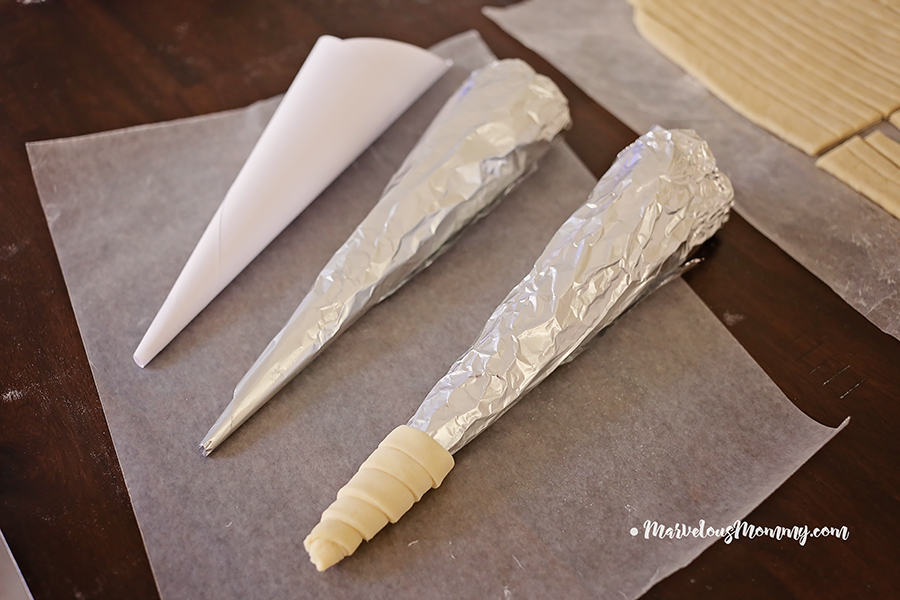
Starting from the bottom, wrap your dough strip around each cone. Place on a baking sheet and let the dough rise until they are about tripled in size and they feel puffy and light. This should take 1 1/2 hours or more, depending on how cold the dough was before you started this last procedure.
Baking
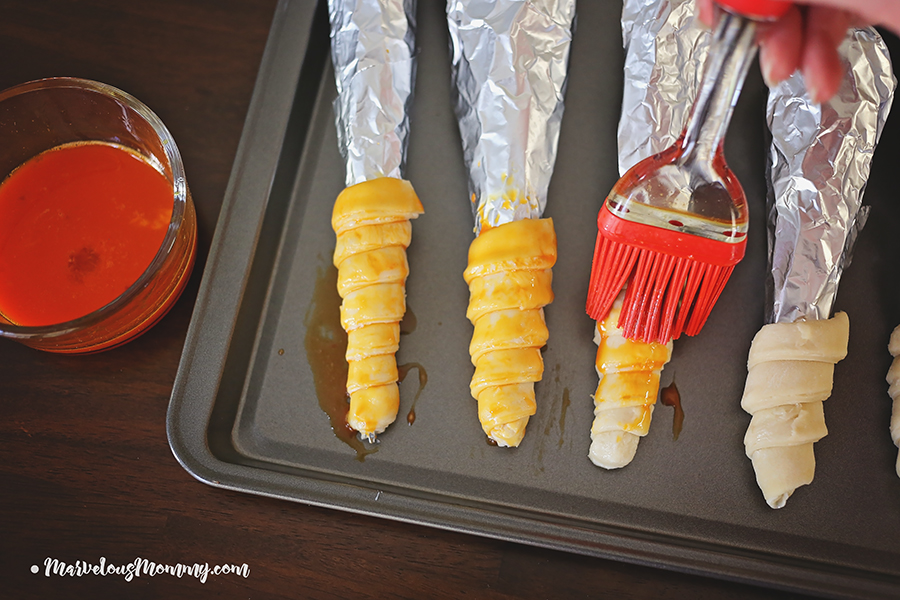
Preheat over to 350 degrees. Mix together your egg, heavy cream, and food coloring. Brush the tops of the dough before baking. Add more food coloring for a deeper color.
Bake for 15-20 minutes or until golden brown.
Watch closely since the will cook fast, especially when they get close to being done. Also, be careful as a lot of butter will drain out while cooking, so be sure you have them on a high side cookie sheet.
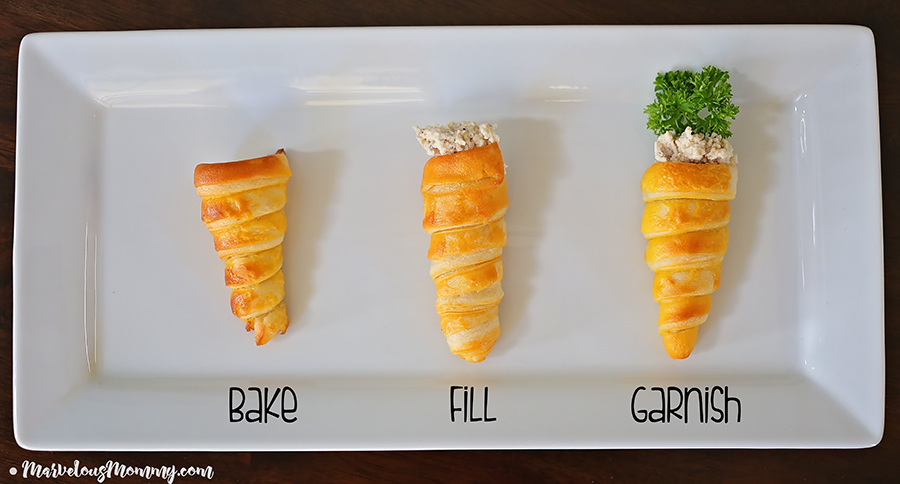
You can fill these delicious cones with chicken salad, egg salad, macaroni salad, coleslaw – anything savory, or even sweet. Garnish the tops with parsley so that they resemble carrots.

I was selected for this opportunity as a member of Clever Girls and the content and opinions expressed here are all my own.
Those are seriously the cutest things ever! I can’t wait to make these for my kids.
How cute is that?! I love it! Can you stop by my house and make this for me! You made it so perfect!
Oh mu gosh, sooooo cute and I love chicken salad!
Those are too pretty to eat. I don’t think I can ever pull off baking something as good as that, I will probably mess it up a bit. Thanks for the awesome idea though, it really does look amazing and it’s definitely perfect for Easter!
These are the best! They really do shape up nicely and the sound delicious too. Great recipe!
They are so cute and I would totally makes these for my family.
They are so cute and I would totally makes these for my family.
Very creative and amazing. Love it. Looks delicious as well.
Wow. So cool! This is the first time a saw a carrot-shaped croissant cones.
These are so cute! I don’t know how people come up with such clever ideas! I am going to try this out for Easter.
These are absolutely awesome! Perfect for Easter!
You make them look so easy to make that I am giving it a test run. Simply perfect for spring and easter celebrations!
That looks so cute!! I love it!! I have half the stuff in the fridge and pantry to make this now!
These are the cutest things ever! I just love this idea! My kids would totally devour these carrots.
Those are too cute! My son would tink it’s adorable but of course wouldn’t eat it.
These are the cutest ever!!! I am so going to make these as an Easter appetizer!
Oh my goodness! Love this cute and fun idea! I’m sure my kids would love it.
They are so cute! I wish I had at least a fourth of your skill! These croissant cones would be perfect for hosting a small party at home. Also good for a weekend treat for the family!
Omg how cute and festive are these?!?! I so need to make these!!!! Perfect for Easter
Oh my goodness such a cute and looks yummy appetizer. i want to try this for my Family.
Oh my goodness, these are so adorable! This tutorial is great! Love the pics!
How cute! These turned out amazing. I will have to make these for my kids. They will love them.
These look so adorable and delicious! Thanks so much for sharing at Tasty Tuesday where you’ve been featured and pinned! Please come back!
They certainly look marvelous :).. Happy to try it at home 🙂
This is so unbelievably creative and cute! I bet my kids will love this.